Wednesday, September 18, 2013

Reloading kits for black powder .320 and .380 centerfire "bulldog" cartridges - HLebooks.com

hlebook.com

Email contact : hl-ebooks@skynet.be
Revive your antique "Bulldog" type revolver in .380 CF short or long
(also known as .38 short or long Colt).
Belgian bulldog revolver in caliber 380 CF

IMG_0968.jpg (85712 octets)
Full Kit for .380 Centerfire Short or Long (.38 Colt)
Content: tools (same for short and long case) + 12 (short or long) reloadable brass cases + 25 round nose bullets + 25 primers (not shipped toward certain countries - without reduction of the kit price). Delivered in a wood box.
Tools furnished : base (1), Recalibrator (2), Bullet seating rod (3), Pushing rod (4), Primer cap ejector (5), Power measure (6)

IMG_1032.jpg (31152 octets)
IMG_1032.jpg (31152 octets)   IMG_1032.jpg (31152 octets)
Case and bullet dimensions :
.380 long: Case diam. = .375" - Rim diam. = .430" - case length = .960" - Overall length = 1.390"
.380 short: Case diam. = .375" - Rim diam. = .430" - case length = .700" - Overall length = 1,145" 

IMG_1039.jpg (13906 octets)

bullet weight : 10 grams (base diam. = .358" - total length .708")

How it does work.

IMG_4703.jpg (17732 octets)

Install the shell upside down in extremity of the recalibrator with two grooves

IMG_4703.jpg (17732 octets)

Position the priming cap (small pistol type) on the case pocket
When the priming cap is positionned on the case pocket, you have to find the most appropriate tool to gently press the cap inside the pocket.

IMG_4703.jpg (17732 octets)


IMG_4703.jpg (17732 octets)  IMG_4703.jpg (17732 octets)
One most easy way is to use a vise (no doubt that an engraving vise, as shown above, is one of the handiest). The whole assembly (recalibrator and cartridge) is positionned between the jaws, and the priming cap is gently forced inside the case pocket through the vise jaws pressure.

IMG_4703.jpg (17732 octets)   IMG_4703.jpg (17732 octets)
Install the primed case on the base ring as shown above, and fill the case with black powder until reaching the limit of the bullet seating (must be evaluated before). The primer measure furnished with the kit can be used as spoon, but it was not calibrated for the exact quantity.

IMG_4703.jpg (17732 octets)
Engage now the base of the lead bullet in the mouth of the loaded case. Try to position the bullet as most vertical as possible to ease the next step.

IMG_4703.jpg (17732 octets)
Put the recalibrator above the base ring so as to surround the cartridge. Notice, that the two external grooves of the recalibrator are below.

IMG_4703.jpg (17732 octets)   IMG_4703.jpg (17732 octets)    IMG_4703.jpg (17732 octets)
Take now the bullet seating rod, and let it drop inside the recalibrator until it is stopped by the bullet (third picture above). The extremity of the bullet seating rod is hollowed to marry the bullet ogival shape (second picture). The bullet seating rod is fitted with two nuts that will be used to lock the grooved central nut at the correct vertical positioning on the rod, when the first bullet will be properly seated inside the case.

IMG_4703.jpg (17732 octets)
With a nylon mallet strike the seating rod, while verifying from time to time the bullet progression. Stop when perfect seating is reached.

IMG_4703.jpg (17732 octets)IMG_4703.jpg (17732 octets)IMG_4703.jpg (17732 octets)
Central cylindrical nut lowered against the recalibrator and locked by the two hexagonal nuts.
When perfect seating of the bullet has been reached, just lower the central grooved nut against the recalibrator (by rotating it clockwise), and lock it using the two standard hexagonal nuts above. The bullet seating rod is then set to the exact length (second image above), and a subsequent seatings will be performed more quickly without verification of the bullet progression inside the case.

IMG_4703.jpg (17732 octets)

IMG_4703.jpg (17732 octets)
You have now one cartridge made, and ready for the shooting range.

After firing
IMG_4703.jpg (17732 octets)  IMG_4703.jpg (17732 octets)
Removal of the crushed primer cap
After firing, in order to re-use the case, the primer must be first removed. This can be done using the short rod with a thinned extremity. The case is positionned on the base ring, and the decapping rod is introduced inside the case. The thin extremity bears against the inner face of the primer cap. You have just to tap in the rod until the primer is pushed out of the case pocket.

IMG_4703.jpg (17732 octets)IMG_4703.jpg (17732 octets)
The cartridge case, which is very strong, is generally only very slightly widened by the explosion, and could probably be re-used without resizing. If resizing proves necessary, it can be done using the recalibrator. Clean the case, and lube it at its external face. Then enter it in the extremity opposite to the one with the grooves. Then press the case until totally enclosed in the resizing tool. This should be done more easily using a vise (with padded jaws), but a nylon mallet an also be used.

IMG_4703.jpg (17732 octets)
The pushing out of the resized case can be performed using the intended rod (4) provided in the kit.


Rimfire Reloading
32 RF - 38 RF - 41 RF   Kit PRICE LIST
Pinfire Reloading
7mm
9mm
11/12mm
12/16 gauge

11mm French revolver reloading kit
11mm French reloading kit PRICE LIST


Friday, September 13, 2013

FN pistol model 1903 explained - HLebooks.com

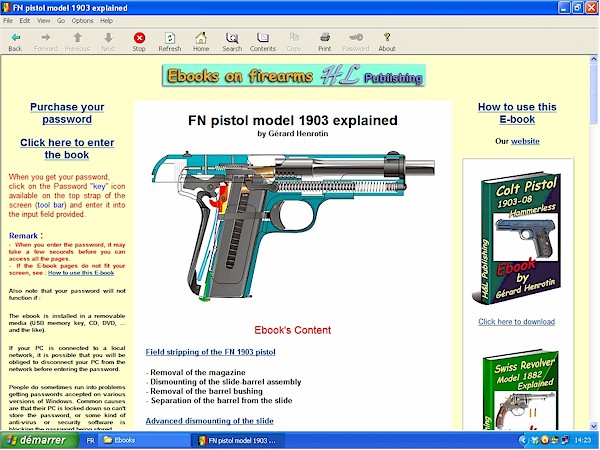
This ebooks is downloadable at this webpage: http://www.hlebooks.com/ebook/fn1903E.htm

Ebook's Content


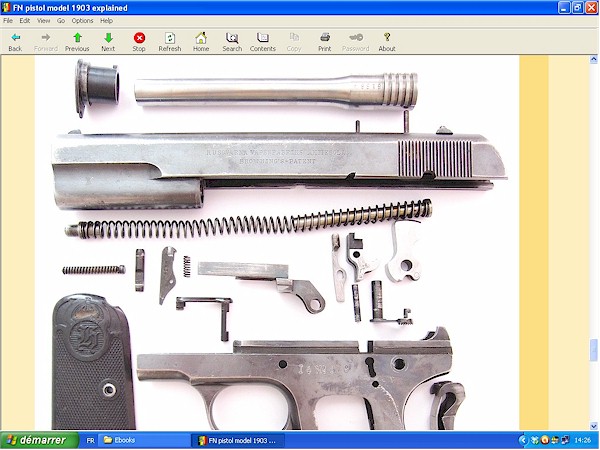
Field stripping of the FN 1903 pistol

- Removal of the magazine
- Dismounting of the slide-barrel assembly
- Removal of the barrel bushing
- Separation of the barrel from the slide

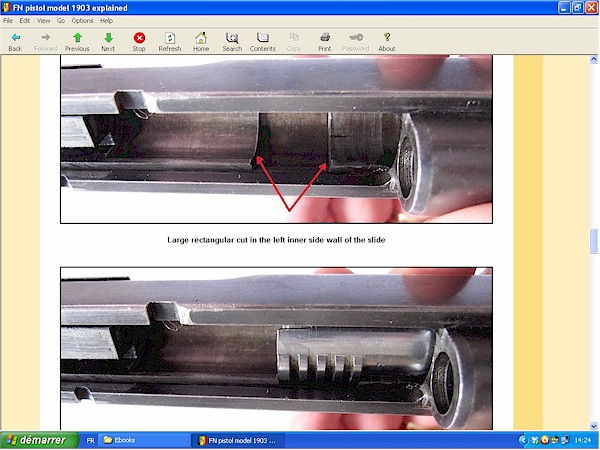
Advanced dismounting of the slide

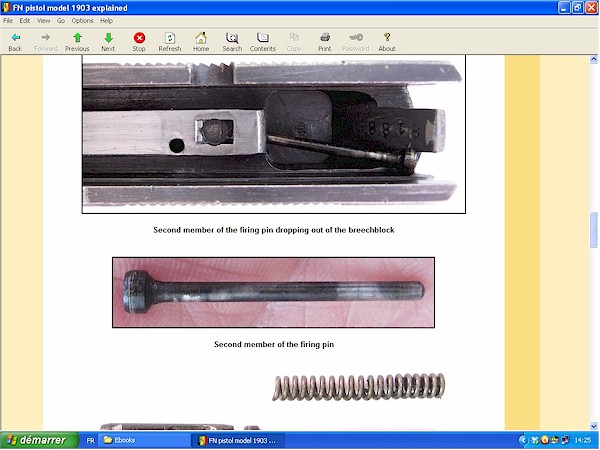
- Dismounting of the firing pin
- Dismounting of the extractor
- About the front and rear sights

Advanced dismounting of the frame (I)

- Removal of the grip plates
- Release of the grip safety
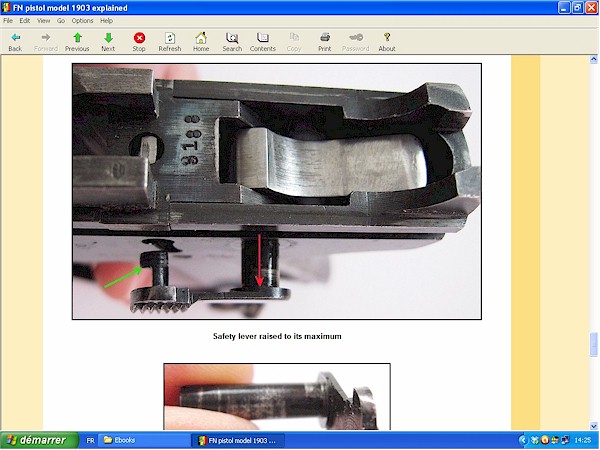
- Dismounting of the safety lever

Advanced dismounting of the frame (II)

- Dismounting of the hammer and ejector
- Detachment of the grip safety
- Removal of the sear/trigger return spring
- Removal of the magazine catch
- Dismounting of the sear-disconnector group
- Removal of the trigger
- Detachment of the holdopen latch

Reassembly tips (I)

- Necessary tools
- Reinstallation of the trigger
- Reinstallation of the sear and disconnector
- Reinstallation of the ejector
- Reinstallation of the magazine latch and sear spring

Reassembly tips (II)

- Reinstallation of the grip safety and main spring
- Reinstallation of the hammer

Functioning of the FN pistol Model 1903 (I)

- The 9mm Browning Long cartridge
- Webley pistol Model 1909
- Le Francais "Army" model
- STAR Model 1922
- Swedish submachine gun Model 1937
- Conversion of the FN 1903 in .380 caliber
- Makarov magazine adapted to the FN 1903

Functioning of the FN pistol Model 1903 (II)

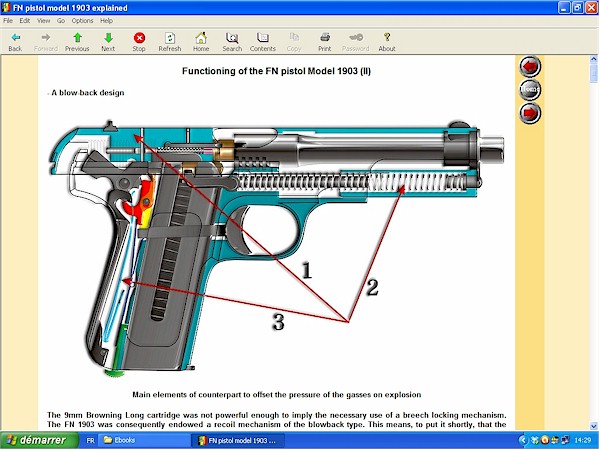
- A blow-back design
- Area of abutment in the receiver
- Areas of deformation on the barrel
- Manual cycling of the gun
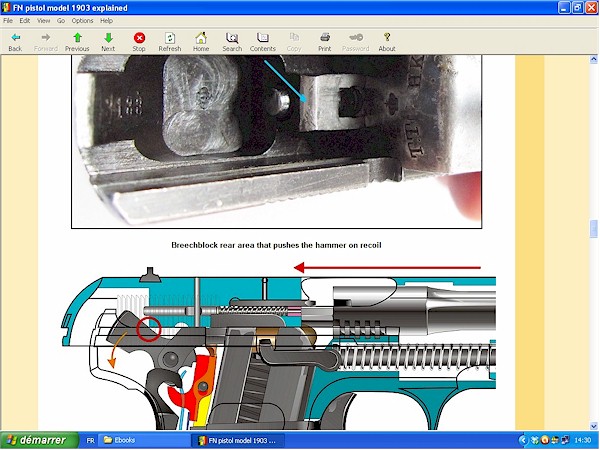
- Cocking of the concealed hammer
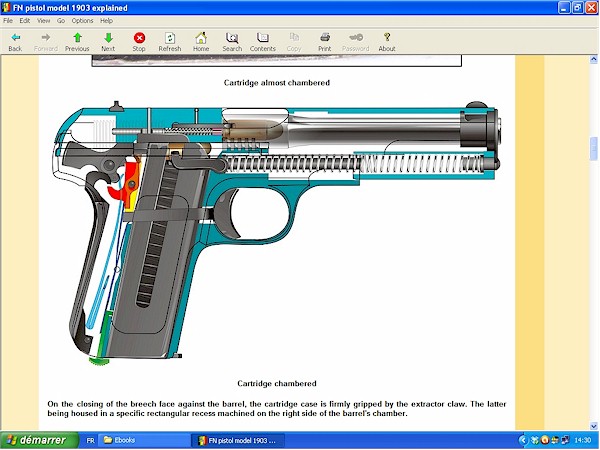
- Chambering of a cartridge
- Frequent cause of misfeeding avoided
- Feed ramp of the frame and barrel

Functioning of the FN pistol Model 1903 (III)

- Last steps of the cartridge chambering
- Extractor action on the case
- Upon firing
- Ejection of the spent case
- Return of the slide
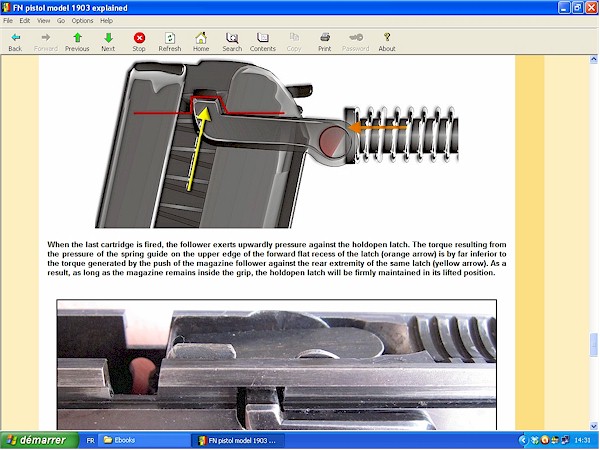
- Holdopen latch lifted by the magazine follower
- Lowering of the holdopen latch

Trigger mechanism of the FN pistol Model 1903

- The trigger explained
- Vertical travel of the trigger extension
- Trigger under pressure of a leaf spring
- Trigger/sear engagement
- Disconnector's action on the trigger
- Trigger mechanism in the Colt pocket "Hammerless"
- The sear explained
- Release of the hammer
- Explosion and disconnection

Safeties of the FN pistol Model 1903

- No hammer safety notch
- Hammer safety notch in the Colt .45 Government
- Early sear and hammer of the Colt pocket "Hammerless"
- Colt pocket "Hammerless" with hammer safety notch
- No magazine safety
- Tansley magazine safety of the Colt pocket "Hammerless"
- The manual safety explained
- The automatic grip safety explained

Related J. M. Browning's patents

- J. M. Browning's patent  No 747,585
- Evolution of the Browning designs
- Colt Model 1900
- FN Model 1900
- A new type of barrel attachment
- A new slide design
- The FN request for a larger semi-auto pistol
- Belgian patent no 163,375

Belgian production of the FN Model 1903

- The pistol and its cartridge
- FN and Swedish dummy cartridges
- Names and producers codes of the cartridge
- 9mm Browning Long head stamps
- The two basic variations of the pistol
- With or without grip slots
- Adjustable rear sight
- The shoulder stock of the first type
- Original FN issued advertising folder
- Installation procedure of the removable stock
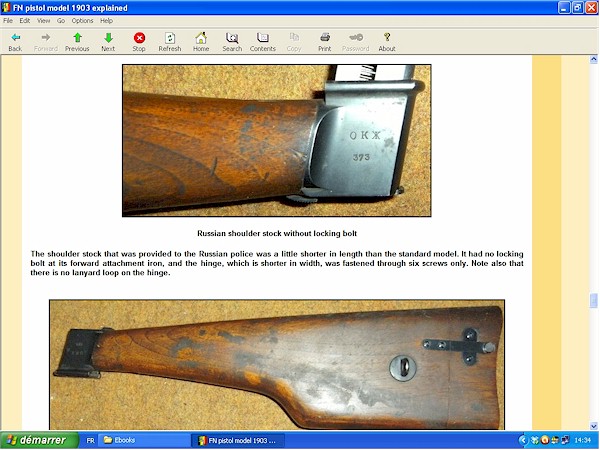
- The Russian shoulder stock
- The shoulder stock of second type and first variation
- Variations of the hinge iron in the stock
- The shoulder stock of second type and second variation

Commercial life of the FN Model 1903 pistol

- An international network of retailers
- The Swedish purchases
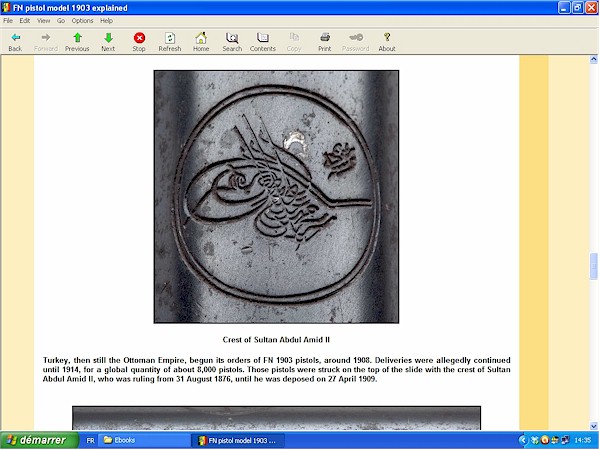
- The Turkish (Ottoman Empire) purchases
- The Russian purchases
- The Paraguayan and Salvadorian purchases
- The Estonian purchases

The Swedish manufacture of the FN 1903 pistol

- Husqvarna Vapenfabriks Aktiebolag / Brownings Patent
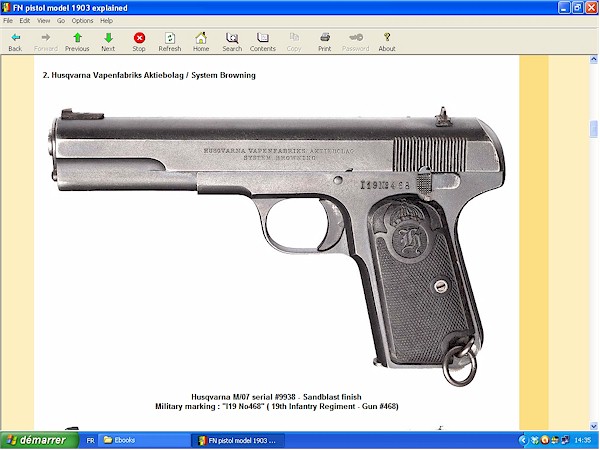
- Husqvarna Vapenfabriks Aktiebolag / System Browning
- Husqvarna Vapenfabriks Aktiebolag
- Husqvarna Vapenfabriks AB
- Slide without firm marking
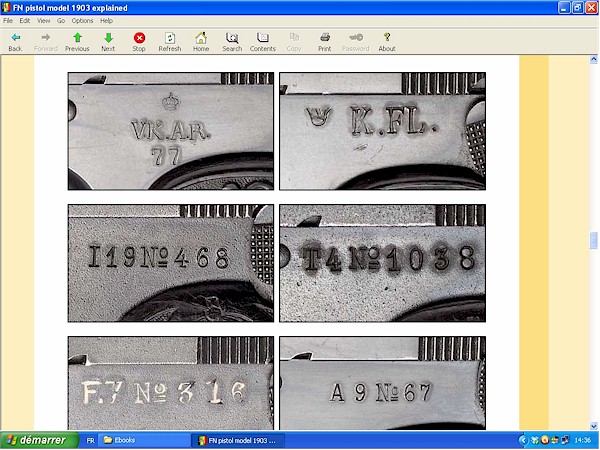
- Swedish Military markings found on the M/07
- Serial number found on several parts of the pistol
- Other notable markings

Ebook screen prints
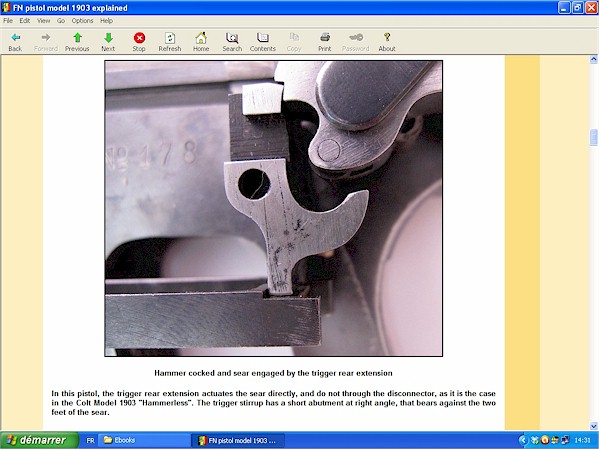
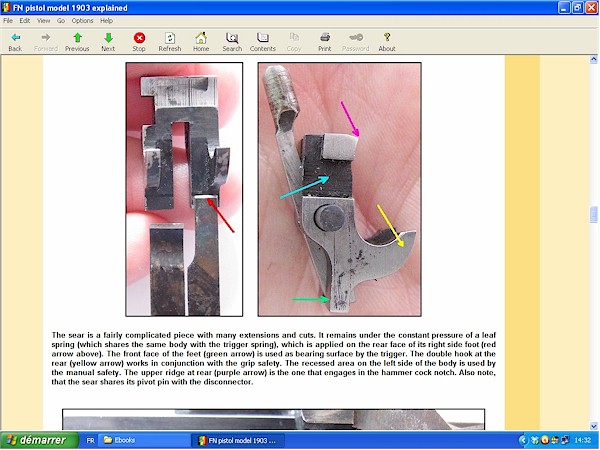
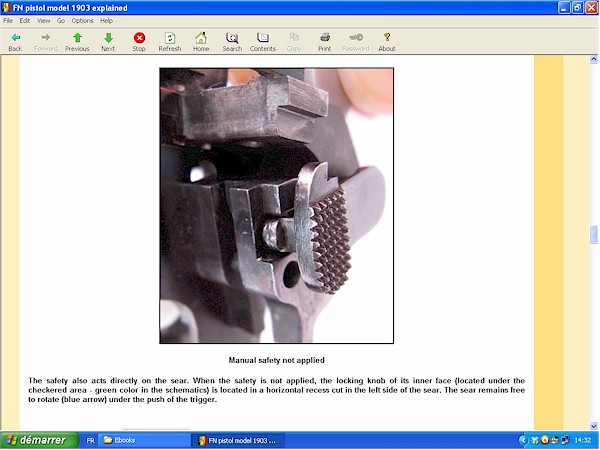
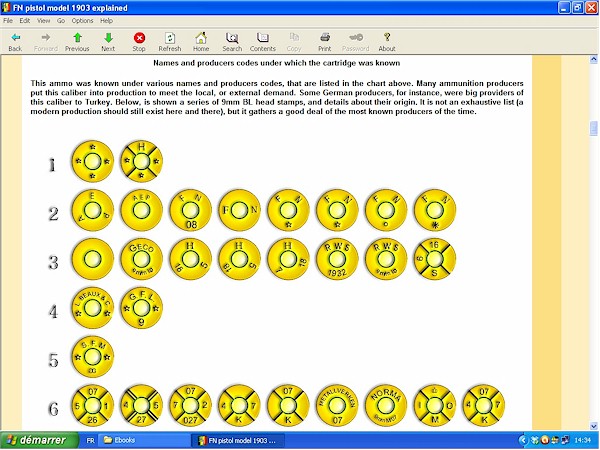
SFN pistol model 1903


This ebooks is downloadable at this webpage: http://www.hlebooks.com/ebook/fn1903E.htm