This ebook is downloadable at this webpage : http://www.hlebooks.com/ebook/bulldogE.htm
The revolver in the second half of the 19th century
- From cap
and ball to the self-contained cartridge
- Smith & Wesson in the USA
- Eugène Lefaucheux in Europe
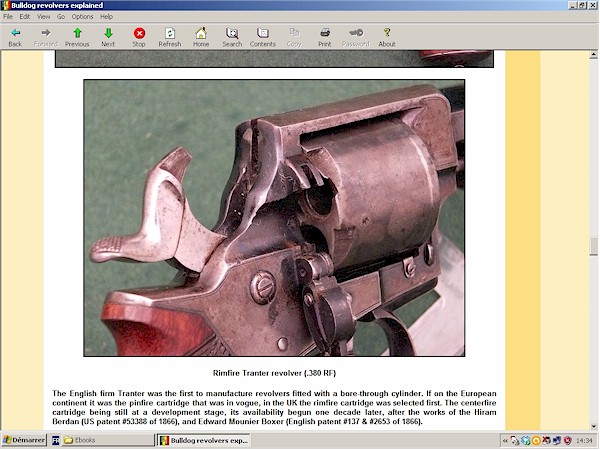
- The English Tranter revolvers
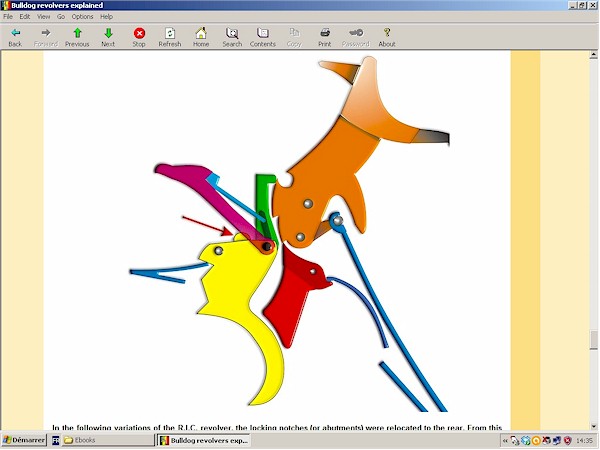
- Evolution of the English revolver's double action lock
The first Webley cartridge revolvers
- The first
Webley solid frame revolver
- Webley revolver of 1866 in caliber .577"
- Early English centerfire cartridges
- The intermediary ratchet plate in several models
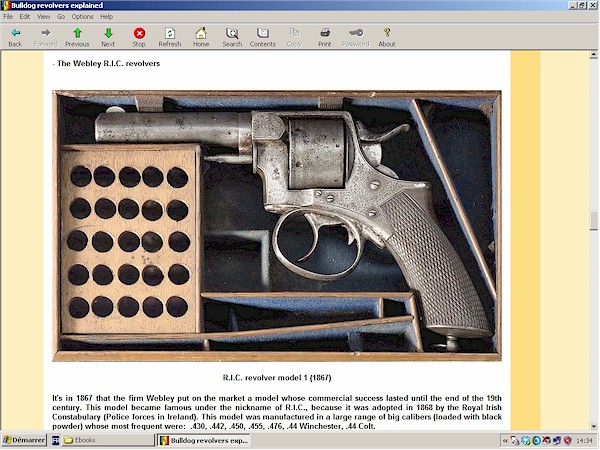
- The Webley R.I.C. revolvers
- The Webley "Bulldog" revolvers
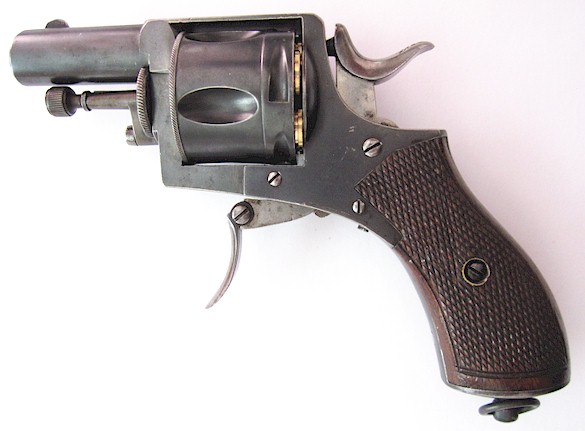
Analysis of a Belgian "Bulldog" revolver
- Caliber
and markings
- Crowned R marking standing for "rifled barrel"
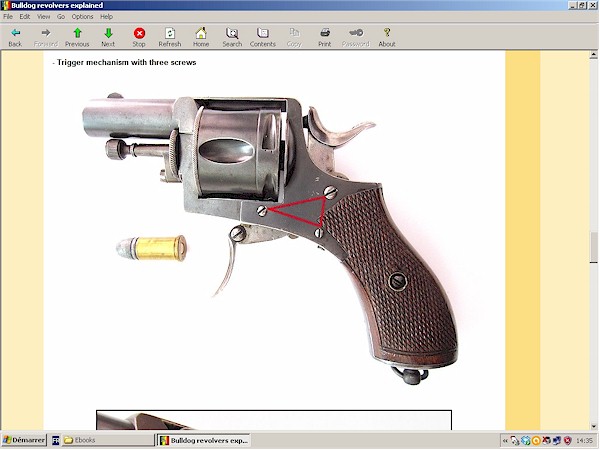
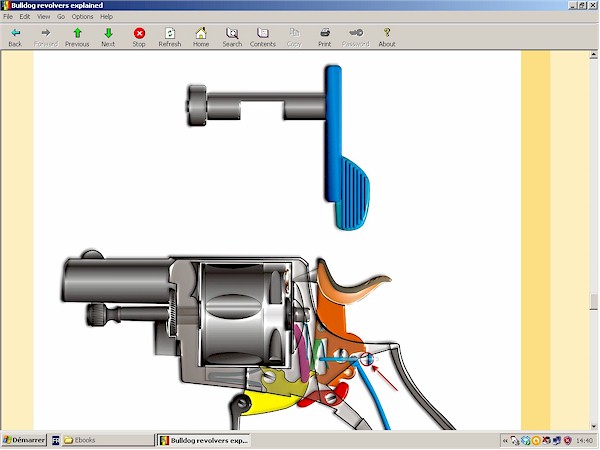
- Trigger mechanism with three screws
- Trigger mechanism in single and double action mode
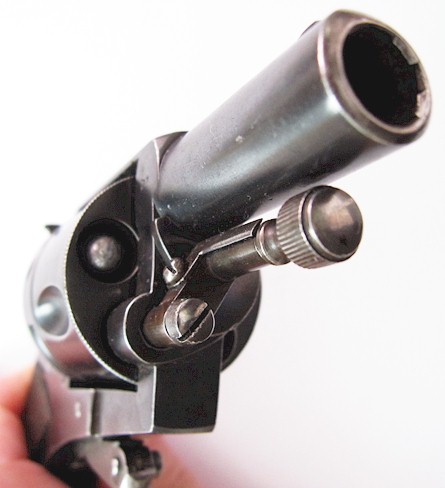
Field dismounting of a "Bulldog" revolver
- Side
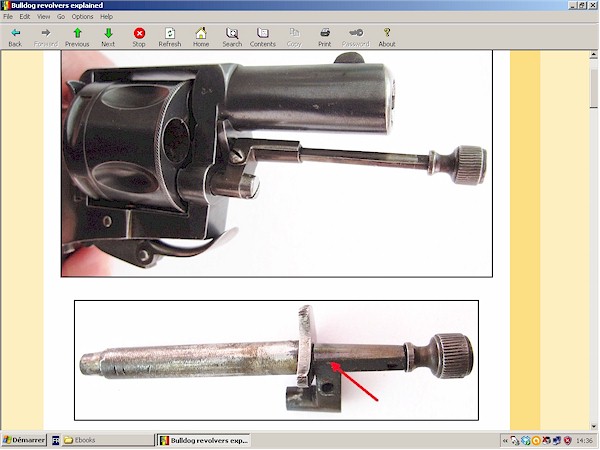
swinging of the ejector rod
- Cylinder arbor when it houses the ejector rod
- Removal of the cylinder arbor
- Removal of the cylinder
Advanced dismounting of the revolver (I)
-
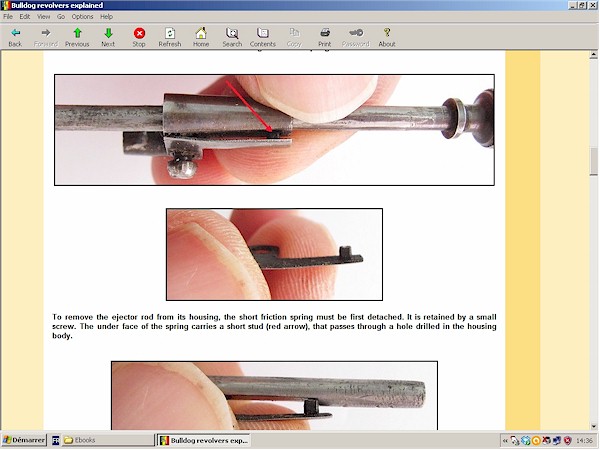
Dismounting of the ejector rod housing
- Unscrewing the friction spring
- Dismounting of the grip plates
- Dismounting of the cover plate
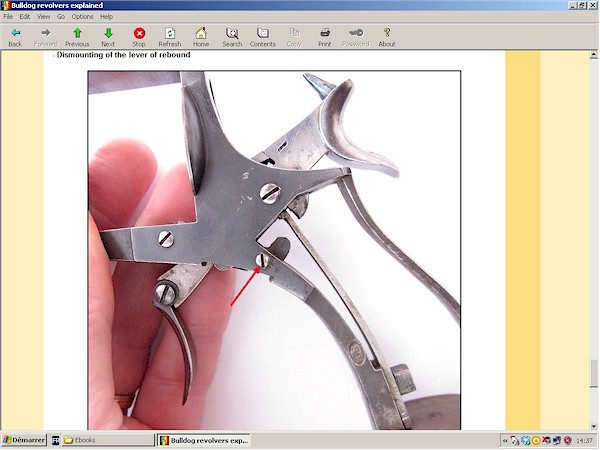
- Dismounting of the lever of rebound
Advanced dismounting of the revolver (II)
-
Dismounting of the mainspring
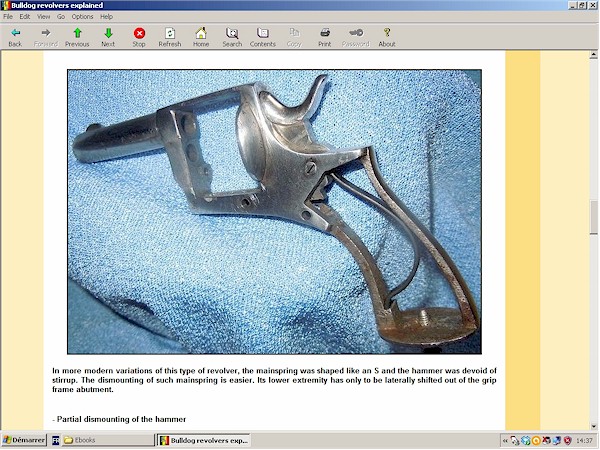
- Dismounting of a S shaped mainspring
- Partial dismounting of the hammer
- Dismounting of the trigger assembly
Advanced dismounting of the revolver (III)
- Removal of
the hammer
- Hinged strut and stirrup
- Dismounting of the trigger return spring
- Dismounting of the loading gate
- Instructions for reassembly
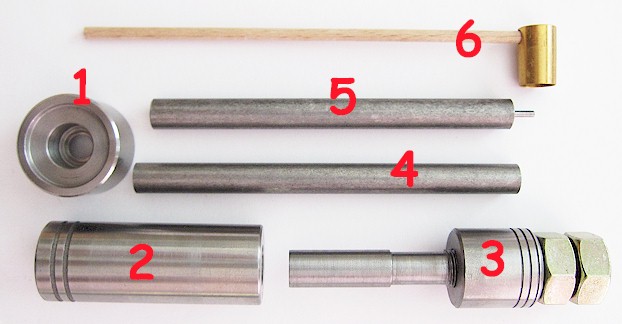
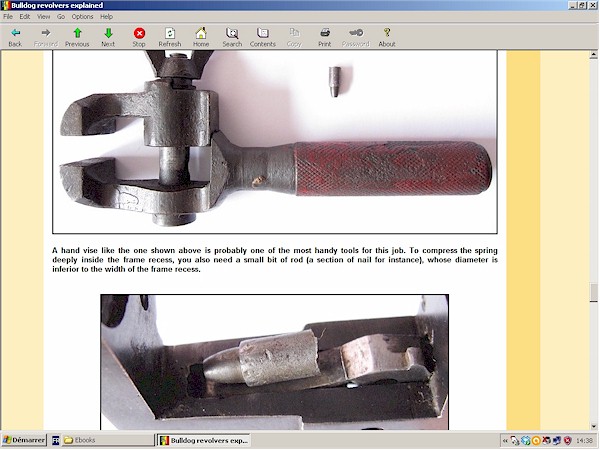
- Specific tools
- Testing the return spring
Functioning of the Belgian "Bulldog" revolver (I)
- Today use
of a vintage Belgian "Bulldog" revolver
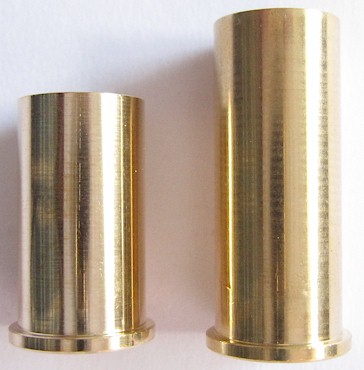
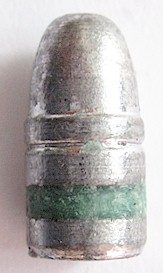
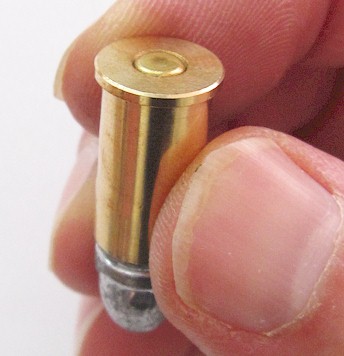
- Vintage cartridges in caliber .380
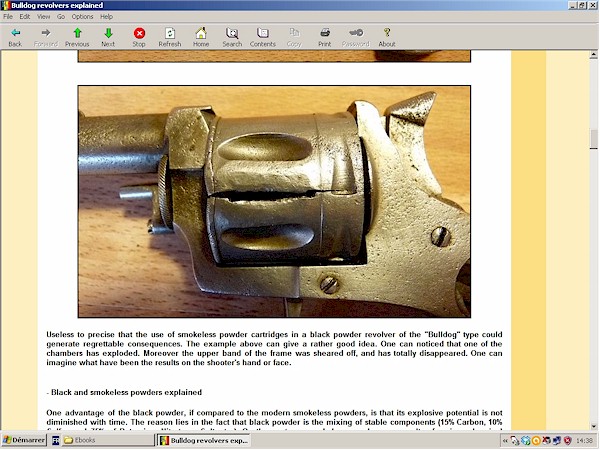
- About the use of smokeless powder cartridges
- Black and smokeless powders explained
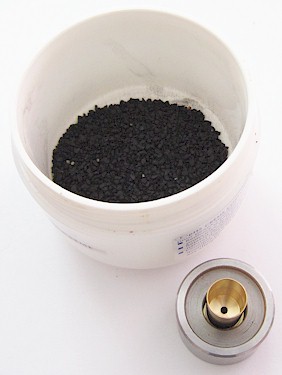
- To recognize and find black powder
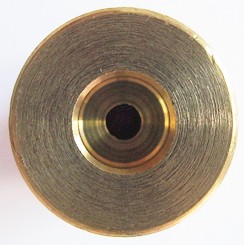
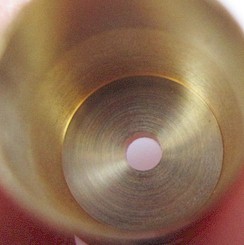
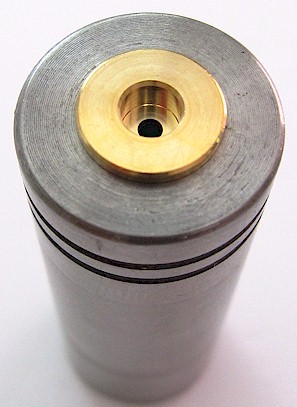
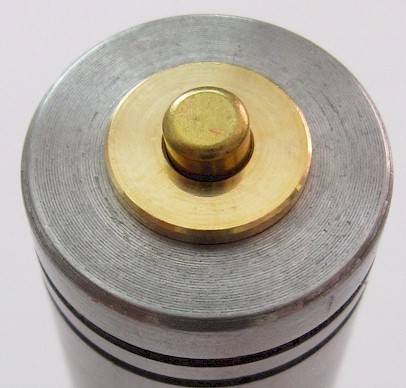
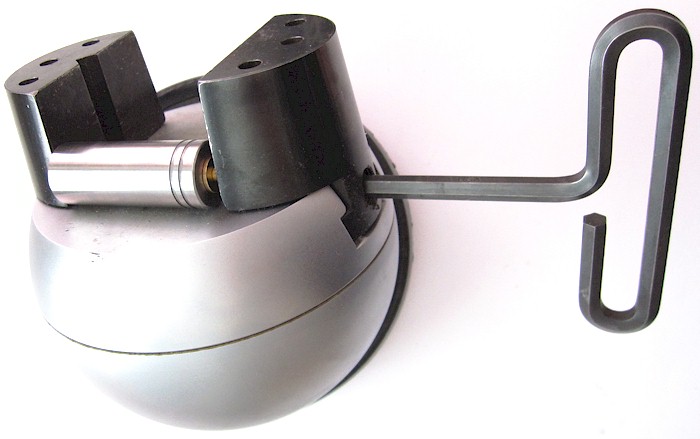
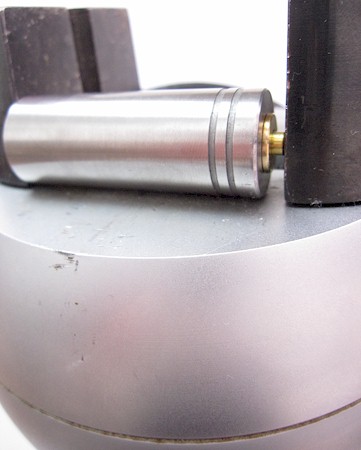
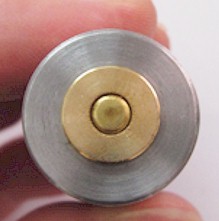
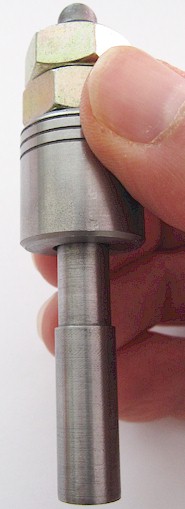
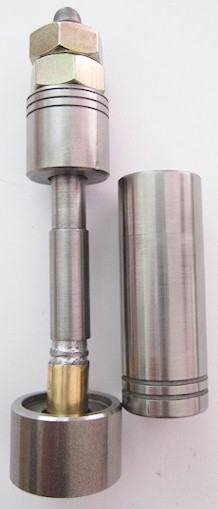
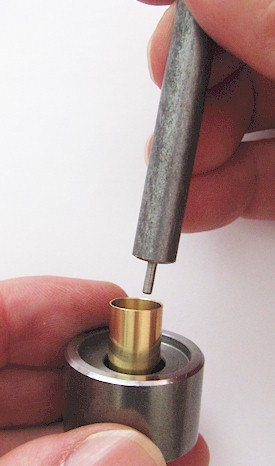
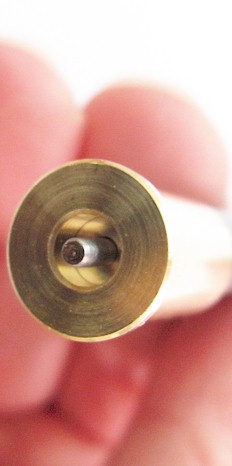
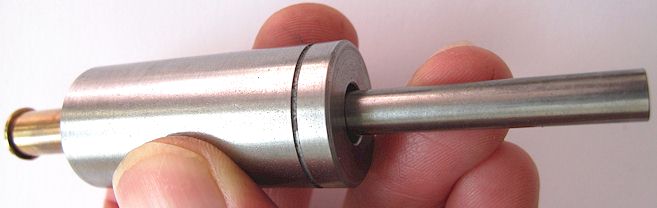
- Reloading of a new black powder cartridge
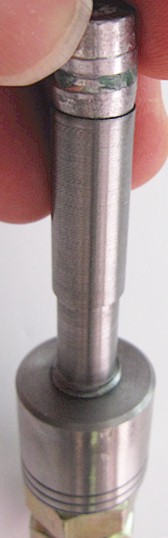
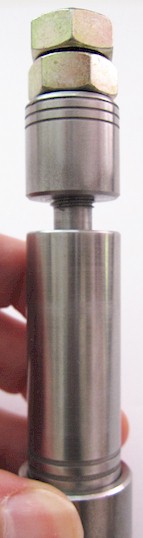
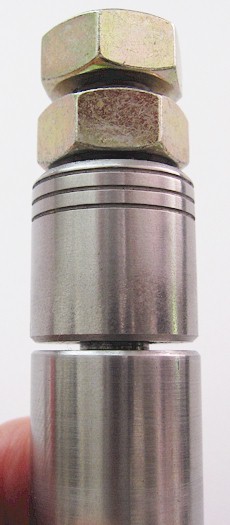
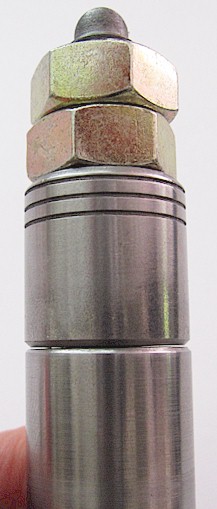
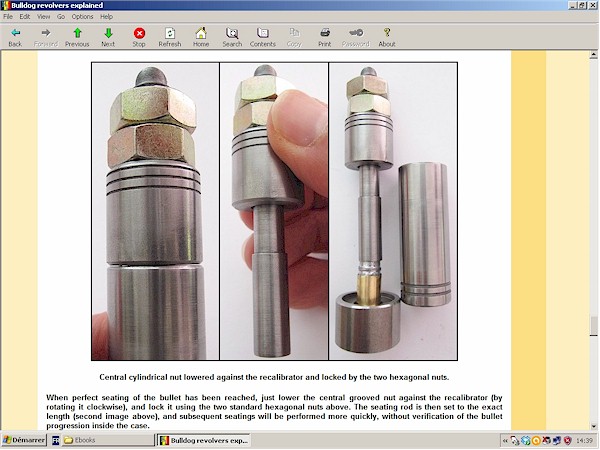
Reloading kits for .380 and .320 black powder calibers
Functioning of the Belgian "Bulldog" revolver (II)
-
Functioning in double action mode
- Rotation of the cylinder
- Vertical travel of the hand
- Locking of the cylinder
- The reasons of a possible bad indexation of the cylinder
- Cocking of the hammer in double action mode
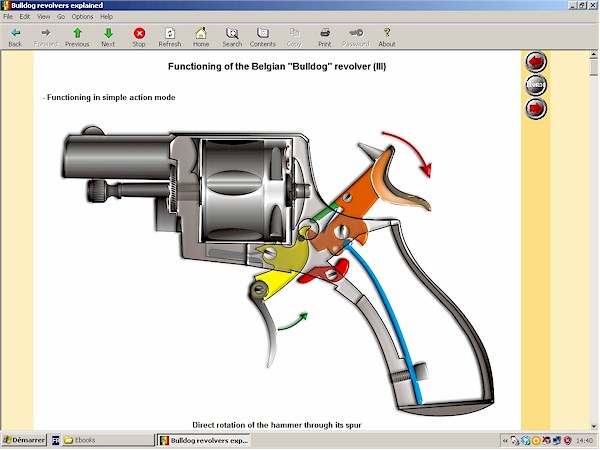
Functioning of the Belgian "Bulldog" revolver (III)
-
Functioning in simple action mode
- The lever of rebound explained
- French service revolver model 1892
- Revolver of "Bulldog" type without rebounding hammer
- French service revolver model 1873
- The classical manual safety
- Manual safety on the hammer
- Manual safety of push button type
- Safety actuated through the lanyard ring
French 1899 - 1900 catalog of Gaucher Bergeron (I)
- No
semi-auto pistol still offered
- The ending story of the pinfire revolvers
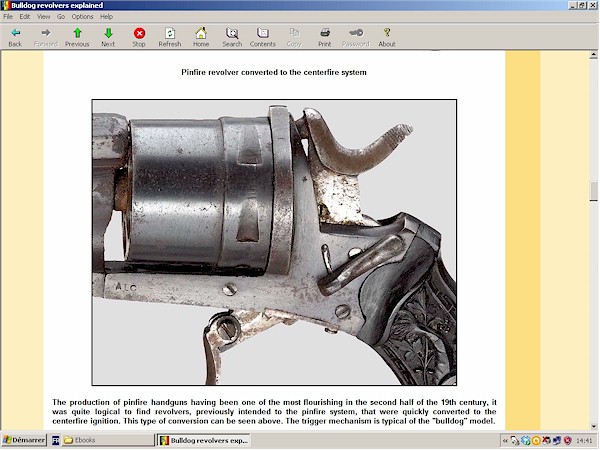
- Pinfire revolver converted to the centerfire system
- Centerfire black powder revolvers
- Centerfire ammunition for revolvers
- Pinfire ammunition for revolvers
- Two types of traditional cartridges with pellets
French 1899 - 1900 catalog of Gaucher Bergeron (II)
- Model
"Baby" with concealed trigger
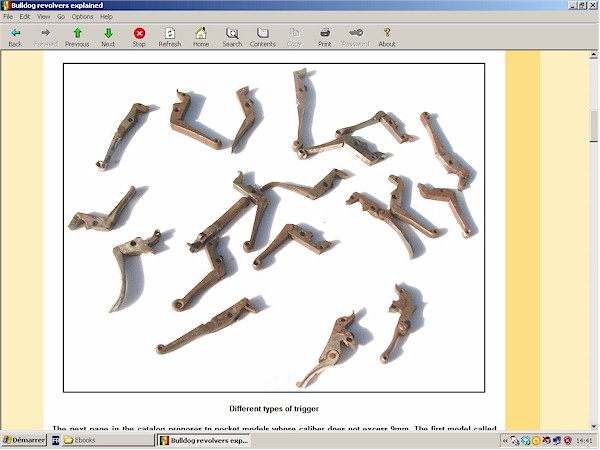
- Different types of trigger
- The so-called "hammerless" model
- True typical "hammerless" model
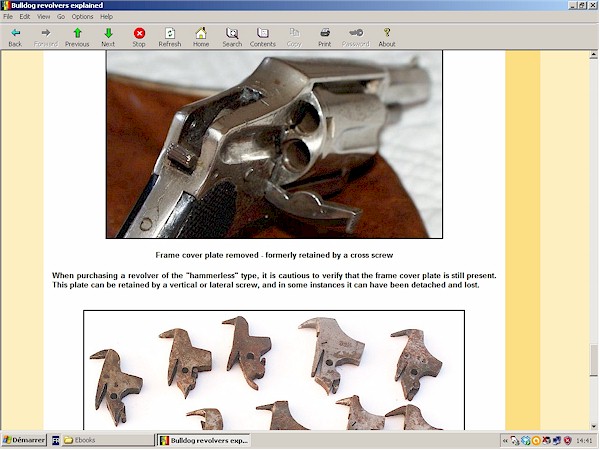
- Hammer cover plate
- Typical mainspring for rebounding hammer
French 1899 - 1900 catalog of Gaucher Bergeron (III)
- New
"reinforced" models in caliber 8mm
- French service cartridge in caliber 8mm 92
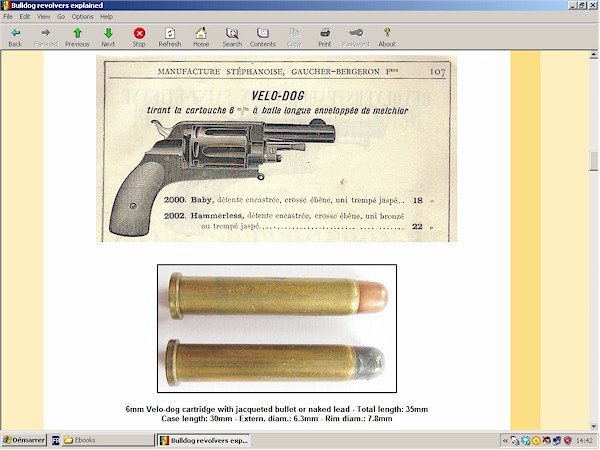
- The revolvers in caliber 6mm Velo-dog
- The revolvers of US design (originals and copies)
- The so-called "revolvers of war"
- "Bulldog" revolvers in the Manufrance catalog of 1910
Some remarkable models
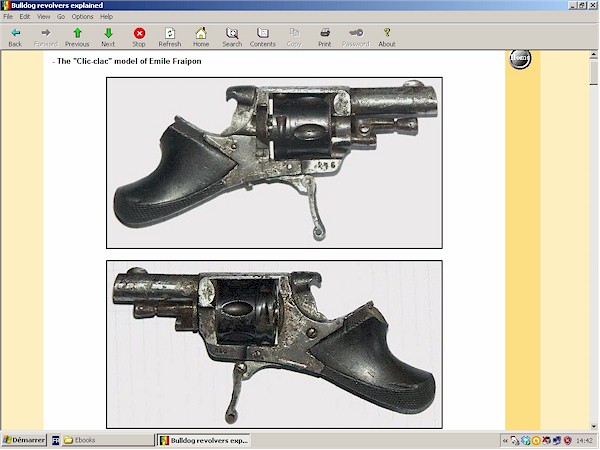
- The
"Clic-clac" model of Emile Fraipon
- Grip frame with finger rest
- Tiny model in caliber .22 short
- The "Revolvelo" model with ring shaped trigger
- "Bulldog" revolver with long barrel
- "Bulldog" revolver of German make
- "Bulldog" revolver of US make
Ebook screen prints


Reloading kits for .380 and .320 black powder calibers